EDIT: October 2016
Note that since I posted this, I’ve become convinced that multiband compressors (like the C4 effect I had been using) can change the music in undesirable ways, so I’ve stopped using them in my mastering process.
In this blog post, I hope to provide some insight into my music production process for my engineer/producer peers out there. Please note that this post may become a little technical if you have no experience as a recording engineer. If so, sorry! But feel free to leave a comment and I’ll try to clarify if there’s anything you don’t understand. 🙂
I’ve been developing and honing my tracking -> mixing -> mastering process for many years now, and it’s gone through many iterations. I like to keep some things fluid, to bend to each song as it needs. However, there are some things that are (mostly) no longer fluid, like the choice of tools and plugins.
Mixdown Effects
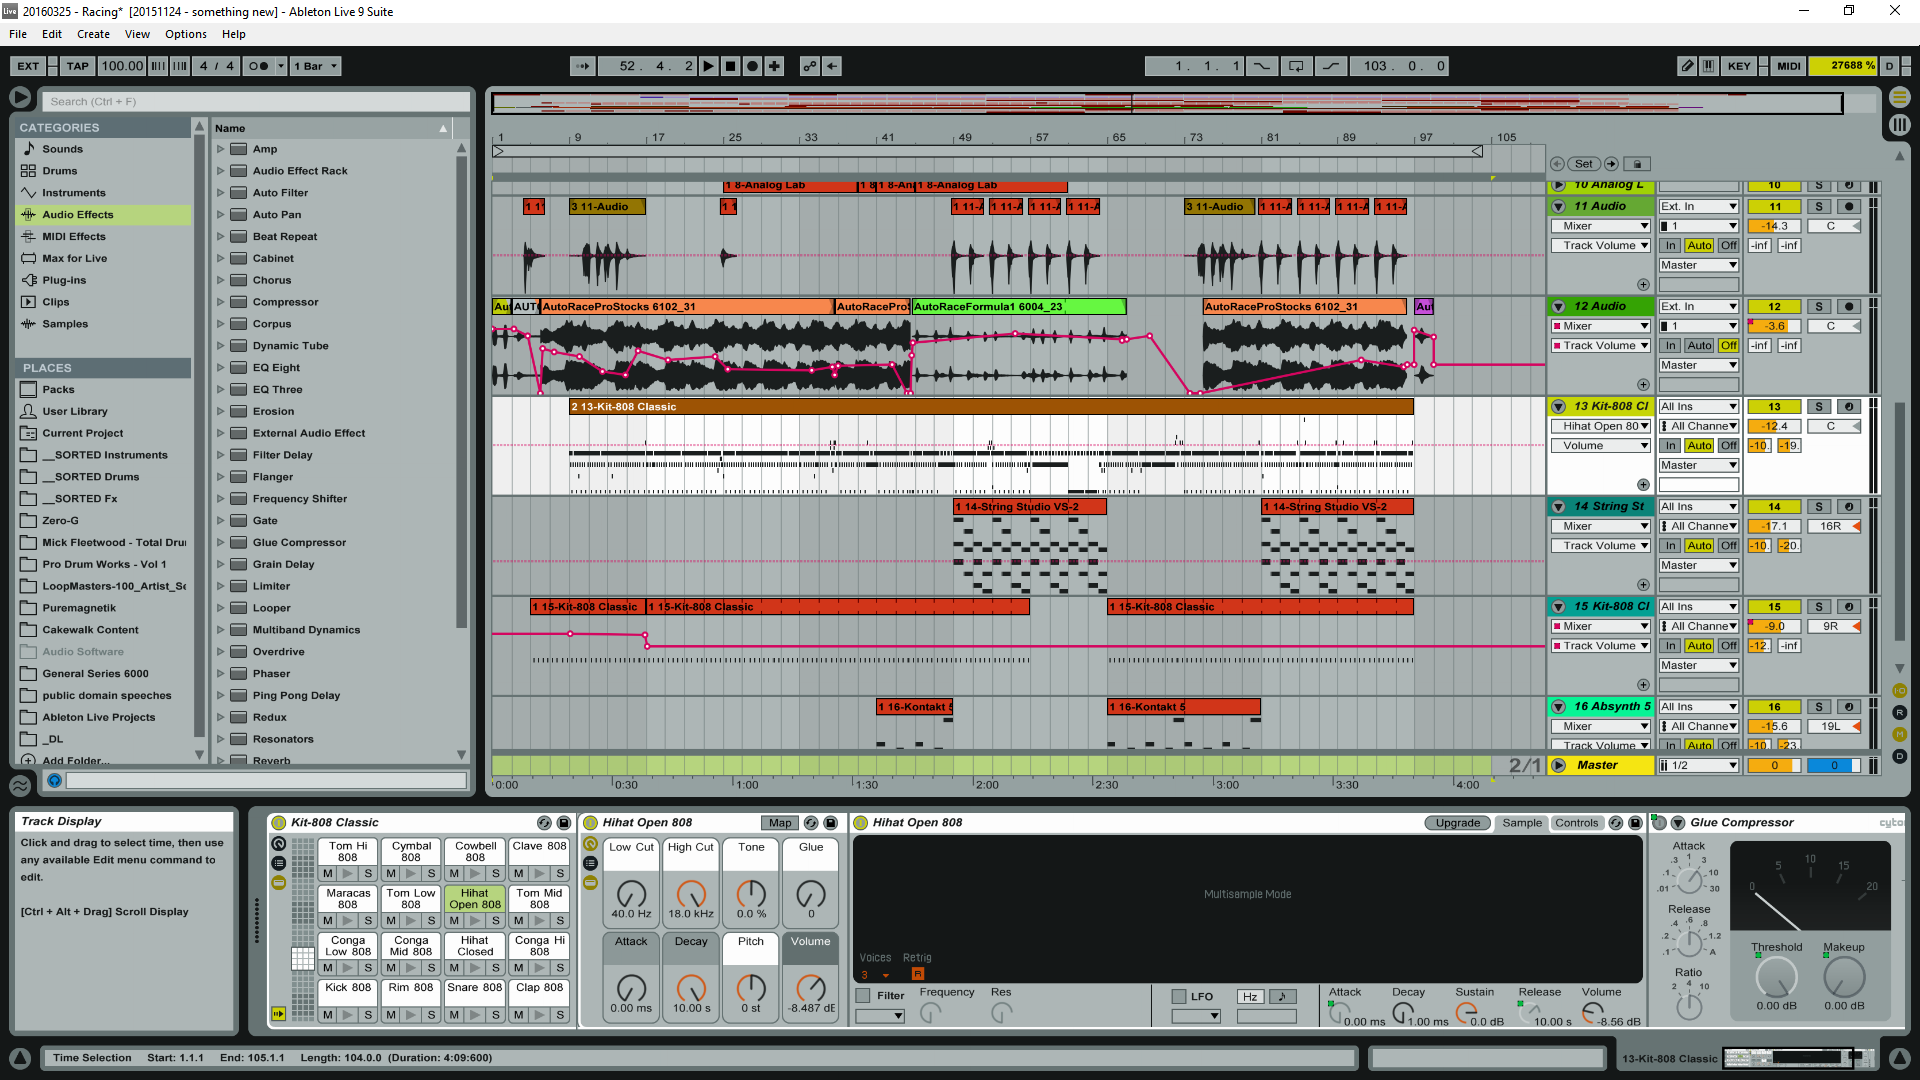
For tracking and mixing, I’ve been using Ableton Live since I purchased it in early 2015. Prior to that I’d used Cakewalk SONAR (previously called Cakewalk Pro Audio) since the late 1990s, when I engineered & co-produced the album Belt, by Naked Omaha (a Philadelphia-based alt-country band that I was the bass player in for a short time). I eventually opened my own local recording studio business, and we used Cakewalk exclusively during that time.
In Ableton, my usual process is to record each part, then apply varying degrees of reverb and tempo sync delay during preliminary mixes, using 2 effects busses. If a specific part needs something more than just the common reverb and delay busses, I will insert additional effects directly on the track. This is usually for something like track-specific EQ, or a creative effect like phasing/flange, stutter delay, decimation/distortion/tube, etc.
My master bus has nothing on it at all, and is set at unity (0 dB) gain. I manage the overall project’s signal levels by reducing the individual track levels until my master bus isn’t clipping.
Mastering Process
Once I’m happy with a mix (and this can take some time!), I export the master bus from Ableton to a stereo WAV file format, and immediately load it up in Sony SoundForge. I prefer using SoundForge as a dedicated mastering application, because there are fewer distractions when compared with working in a full-on DAW like Ableton or Cakewalk.
In my mastering application, the first thing I do is normalize. This lets me work at a uniform volume level on any song, and I know how my usual effects plugins work at those levels, i.e. where the “sweet spots” are for the effect controls. Then I load my mastering effects plugins, and tweak them for that particular song until I like the results. Then I export to WAV again, and upload to SoundCloud, or wherever. If I need to create an MP3, I can instead export that format from the mastering application.
Mastering Effects
My typical mastering effects chain in SoundForge includes:
- Waves C4 or Linear Phase Multiband (often using the “Multi Opto Mastering” preset, then tweaking each of the region gains and ranges)
- Waves RVerb or IR-L (which is often disabled because the individual tracks already have reverb applied)
- iZotope Mastering Limiter (set to something not too obtrusive)
I hope this has been a fun and interesting blog post for at least some of you out there. Please let me know what you think about my process, and how yours might differ.
This is helpful. I’m using Presonus Studio One 2 for my composition/performance/recording work. The steps you outlined give me some ideas on how to take my ideas to the next level before uploading them to SoundCloud. Thanks!